
How to make images zoom in an interactive walkthrough?
Learn how to automatically zoom images in interactive walkthroughs to highlight key details and guide user focus
Apr 13, 2026●
1
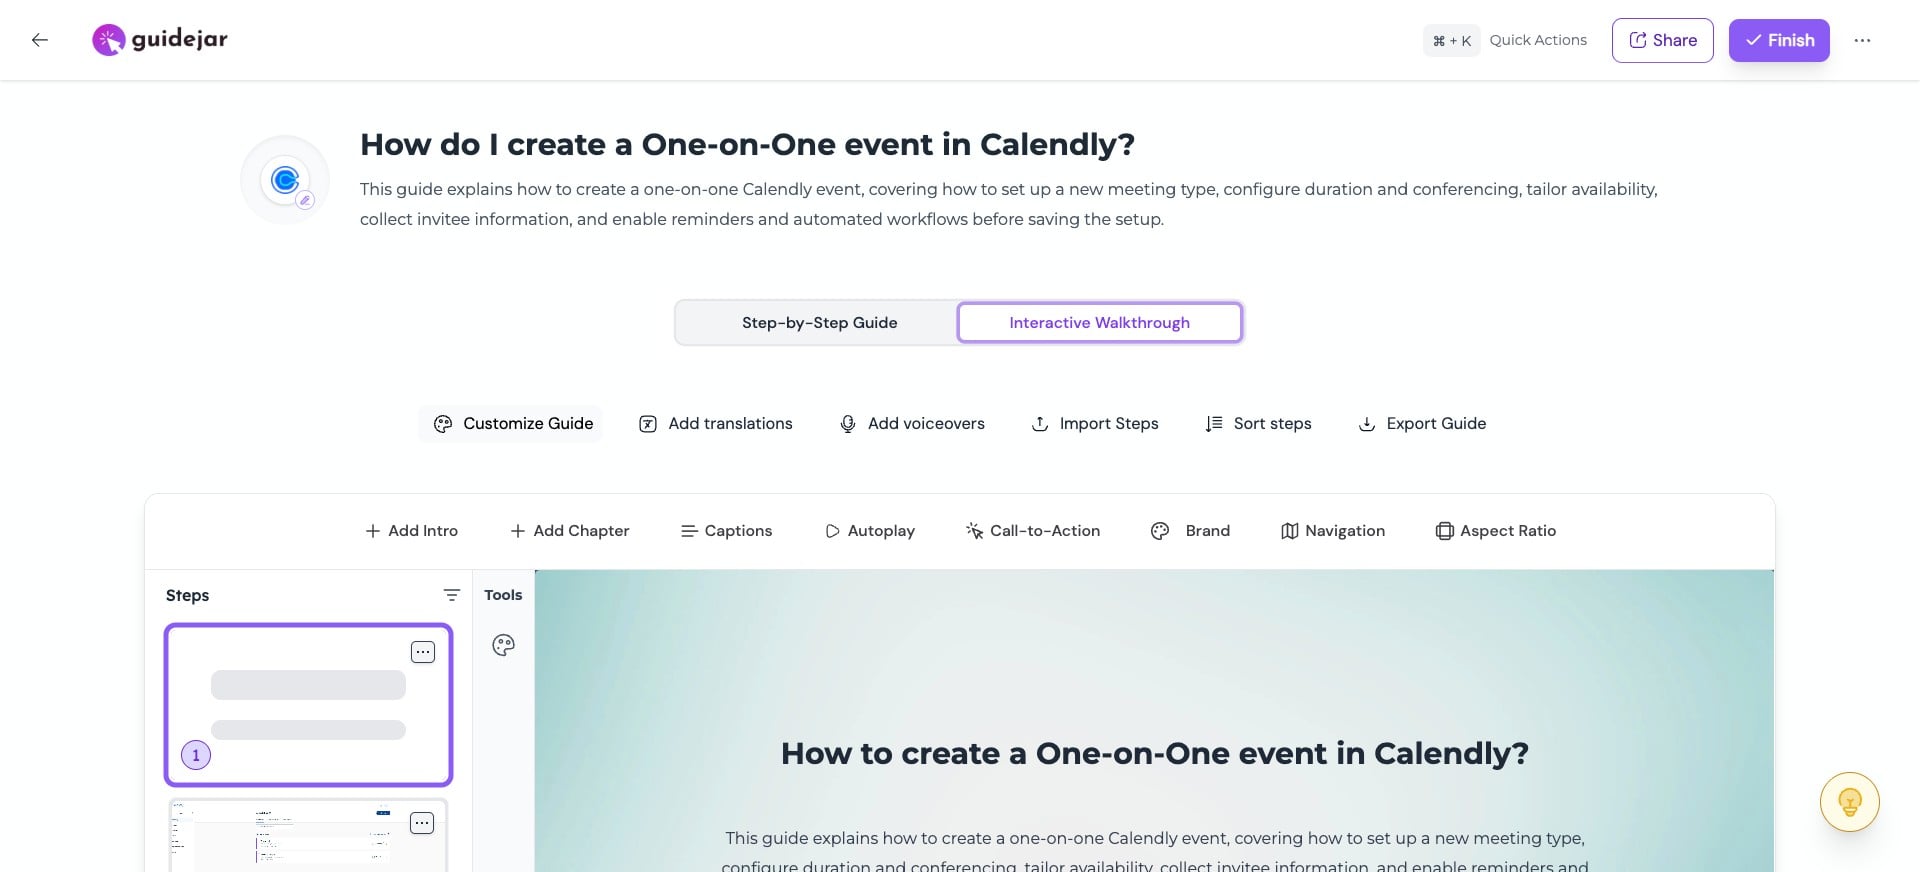
Switch to Interactive Walkthrough Editor
2
To apply zoom across all steps in an interactive walkthrough, go to "Customize Guide"
3
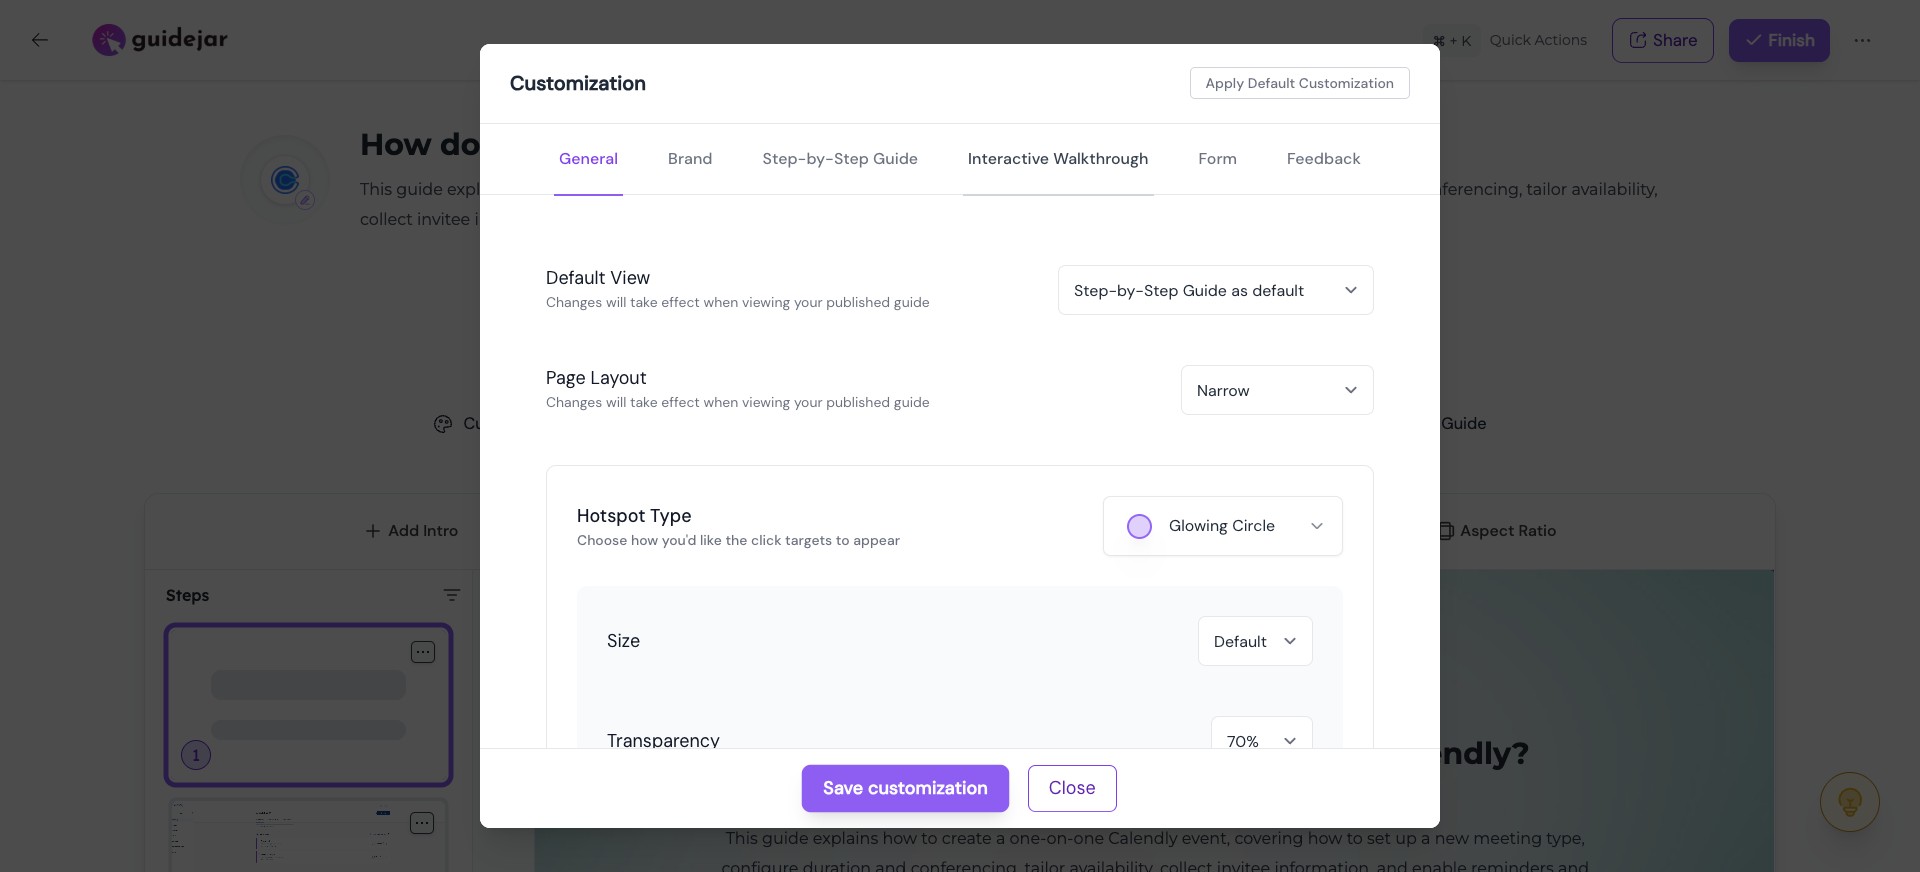
Click on "Interactive Walkthrough"
4
You can set the default zoom level as required. For a subtle zoom, we recommend 1.2x; for a stronger zoom, use 1.7x.

5
Once you're done, click on "Save customization"
6
You can also override the zoom level for a particular step. To do this, first select the step and click on the "Magnifier" icon.

7
Here you can:
- Override the zoom level
- The system automatically pans to the hotspot. However, if needed, you can change the pan manually by dragging the image.
- You can also enable "Zoom out on exit" to zoom out the image just before moving to the next step. This is applicable only when autoplay is enabled.
Click on "Save" once you're done.
0:00 / 0:09
8
Watch how the zoom and pan are applied—see how the focus adjusts and guides attention to the key areas.
0:00 / 0:10